25 Jun 2017
3 min read ~ 400 words
Arduino UNO R3 lego case
In the following photo you can see the result of the case I built for this project.
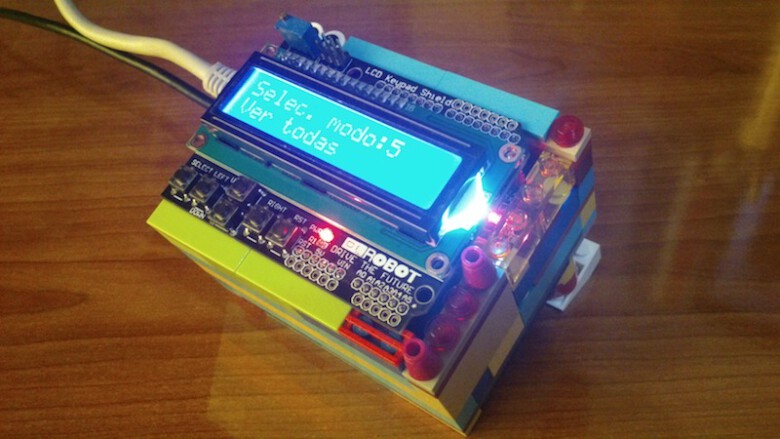
arduino uno lego case
Prerequisites
I used:
- Lego pieces
- Arduino UNO R3
- Ethernet Shield for Arduino UNO
- Keypad Shield for Arduino UNO
Getting started
In the figure below you’ll see the components needed:

step 1
In the next photo you can see the ethernet shield attached to arduino UNO R3.

step 2
In the next photo you can see the pins used to avoid both shields using pin 10.

step 3
In the next photo you can see the full stack.

step 4
Building the base
In the next photos you can see the floor of the lego case.

step 5

step 6

step 7

step 8

step 9

step 10

step 11

step 12

step 13

step 14
Inserting arduino UNO
In the next photos you can see how the arduino UNO with Ethernet Shield is inserted.

step 15

step 16
Fixing arduino UNO to lego case
In this step we’ll fix the arduino UNO to the case so it doesn’t move inside it.

step 17

step 18

step 19

step 20

step 21

step 22

step 23
Finally, in this photo you can see the case from above without the Keypad Shield. You can see the pieces I used to fix the arduino.

arduino uno lego case (above)
Finishing up
In this step we’ll add some decorations and supports for the case for an easier
human - arduino interaction :)

step 24

step 25

step 26

step 27

step 28

step 29

step 30
Result
And this is how it looks like:

step 31
In the next photo you can see the side, where I left space for the ports I needed (Ethernet & USB).

arduino uno lego case (side)
Bonus
From this case you can remove Ethernet Shield if you don’t need an internet connection.
Here’s the result:

step 32